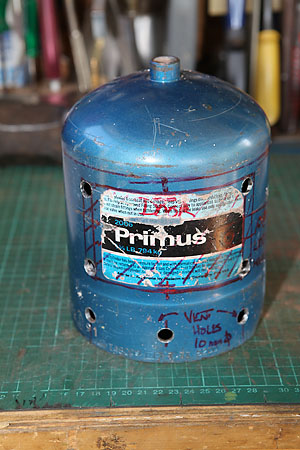
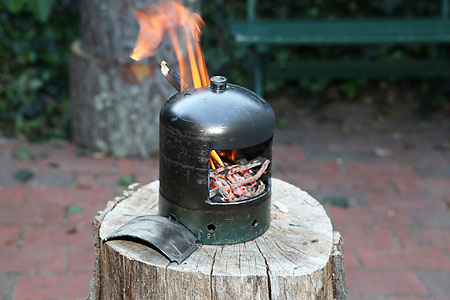
Having seen several versions of gas cylinder stoves recently, I felt I should have a go at designing and building one too. Wanting to test out my skills and ideas first, I figured a mini version would be a good way to start. I had several old primus 1 kilo gas cylinders under the house, waiting for a chance to prove useful, so one got it’s chance.
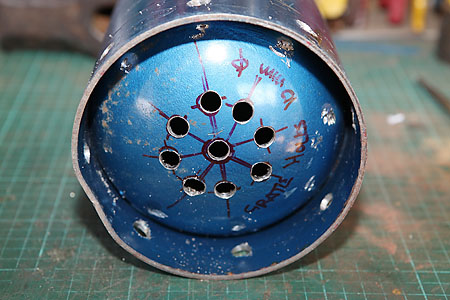
The design was roughly sketched out then transfered to the cylinder.
Purging the old cylinder of any remaining gas was my main concern. I burnt off the last of the gas using the camp BBQ then opened the filling vent fully. This allowed me to fill the cylinder with water and then drill out a couple of small holes to completely fill, drain and re-fill the cylinder again. Confident that any remaining gas was gone, I drilled the bigger holes next.
Holding the cylinder steady without a big vice was a problem. When the larger drill bits, 8-10mm, grabbed and dug into the metal, the cylinder, drill bit and power drill were in danger of becoming a wild, spinning missile!
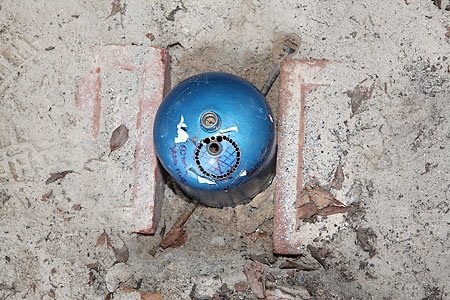
Never one to be easily deterred, I considered my options. Hence, the newly invented and awaiting patent, sand pit vice. A brick either side with the sand packed in behind, held the cylinder securely for the drilling of 10mm holes around the base to act as air intakes. These then allowed for bolts to be pushed through and act to stop the cylinder spinning when drilling out the top holes for the flue pipe. Holes drilled!
The sand pit vice then helped hold the cylinder still for the cutting out of the door panel.
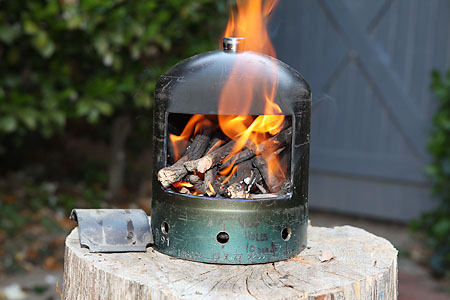
Once tidied up, it was time for a quick test and paint burn off.
The small fire proved tricky to keep alight, as it’s heat was quickly dissipated. Much of it through the flue hole by all appearances.
Next steps include working out a flue and baffle system and door hinge and latching design.
Stay tuned!
Brian.
Tags: camping, gas cylinder stove, mini primus cylinder oven, oven, stove, wood fired
