This time I’ve decided to document the building of the camping box. The previous version missed the recording process in the excitement to get them finished on time!
I wish to make it clear that I am not a carpenter by trade. This will become obvious as I record the construction process. Let’s get on.
From the original plans I’ve made a small modification to fit the cooker into the top section of the boxes, keeping the size the same so that draws can be interchangeable. I decided on not having a hinged lid, instead having a solid top with a slot for the cooker to fit into. It will just be slid out and placed on the top when in use.
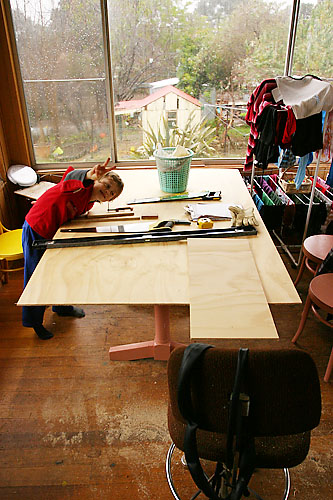
The sunroom on a rainy day doubles well as a work room and a place to dry the washing.
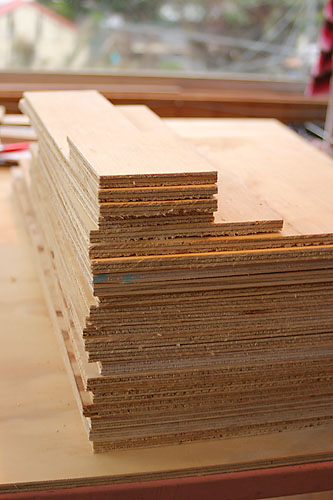
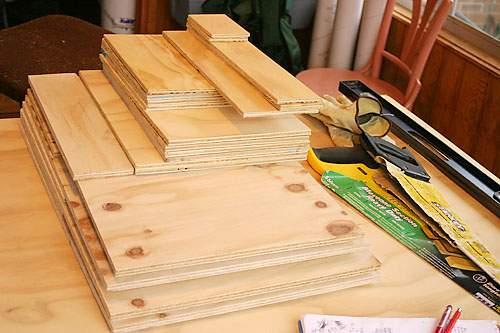
9mm ply for the drawers and 12mm ply for the case to hold them. All measured and cut to size.
There seems to be a lot of pieces!
The next step is to mark up and centre punch all the screw holes. With the screws going so close to the edges, and into the ends of the thin ply, it is important to have pilot holes to stop splitting and keep it as accurate as possible.
I also plan to make a small draw to fill the extra space at the top, next to where the cooker goes.
Next, onto the drilling of the holes.
Brian.
Tags: 12mm, 9mm, camping, camping boxes, plywood


